How to Clean Grout in Shower Corners
If you want to know how to clean grout in shower corners, the short answer is simple: start with a mild cleaner, scrub with a soft brush that can reach into the joint, rinse well, and dry the corner completely. That last step matters just as much as the scrubbing, because damp corners are exactly where mould and mildew tend to come back.
One detail a lot of guides miss: the line in your shower corner may not actually be grout. Some inside shower corners are supposed to be sealed with flexible caulk or sealant, so it’s worth checking what you’re cleaning before you reach for anything stronger.
What you need
- Warm water
- Washing-up liquid / dish soap
- Spray bottle or small bowl
- 2 microfibre cloths
- Soft-bristled toothbrush or grout brush
- Cotton buds or a small detail cleaning brush for very tight corners
- Old towel or paper towels for drying
- Optional: bicarbonate of soda / baking soda
- Optional: hydrogen peroxide cleaner that is suitable for bathroom surfaces
- Optional: bleach-based mould remover or diluted household bleach, only if the label says it is suitable
- Gloves
Time: 15 to 30 minutes
Difficulty: Easy to moderate
Before you start: check if it is grout or caulk
This matters even more in shower corners than on flat tiled walls. Inside corners are often movement joints, which means they may be filled with flexible caulk or silicone sealant instead of hard grout.
- Grout usually feels hard, grainy and matte.
- Caulk or silicone usually feels smoother, slightly rubbery and flexible.
If the line is cracked, peeling, missing in spots, or feels soft and loose, cleaning may not solve the problem. In that case, the corner may need the old sealant removed and replaced rather than scrubbed harder. For a quick background on this, this guide on caulk or grout in shower corners explains why inside corners are often sealed.
Safety notes for shower-corner cleaning
- Open a window if you have one, and run the extractor fan.
- Wear gloves, especially if you’re using mould spray, hydrogen peroxide cleaner or bleach.
- Test any cleaner on a hidden area first.
- Check manufacturer instructions for your tile, grout, sealant and shower tray.
- Never mix bleach with vinegar, ammonia or any other cleaner.
- If you use a bleach product, follow the label exactly and rinse thoroughly.
For routine mould on hard bathroom surfaces, cleaning with detergent and water is often enough. Stronger products can help with staining, but they’re not always the first thing you need.
How to clean grout in shower corners step by step
- Ventilate the bathroom.
Turn on the fan and open the door or window. Small bathrooms fill with moisture and cleaner fumes fast. - Rinse the corner with warm water.
Use the shower head, a damp cloth or a spray bottle. This helps soften soap scum and loosen surface dirt. - Apply a mild cleaning mix.
Mix a few drops of washing-up liquid / dish soap into warm water. Spray it on or dab it into the corner with a cloth. - Let it sit for 5 minutes.
Just long enough to soften the grime. You don’t want the area left soaking. - Scrub with a soft brush.
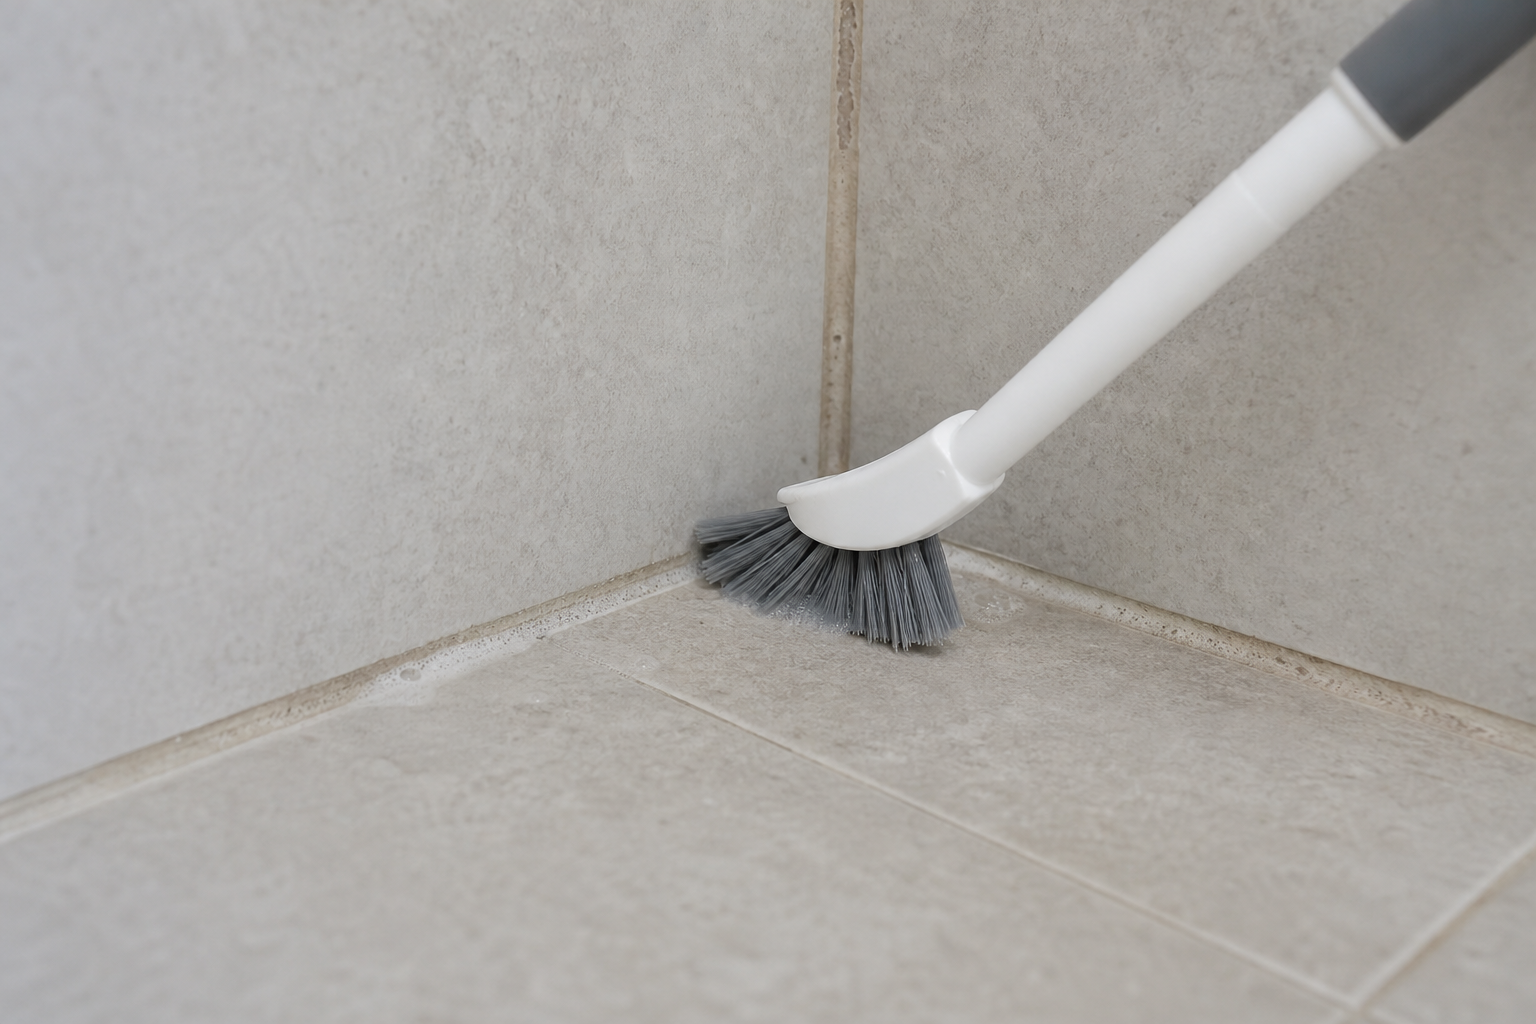
Use a toothbrush, grout brush or detail brush. Work from top to bottom so dirty water doesn’t run back over areas you’ve already cleaned. For the tight meeting point itself, use cotton buds or the narrow end of the brush head. - Rinse well.
Wipe with a clean damp cloth or rinse with the shower. Any soap left behind can attract more dirt. - Dry the corner fully.
Press a dry cloth or towel into the joint. If you skip this, the corner stays damp and the dark marks often come back quickly.
That basic method is the best place to start. It’s gentle, inexpensive and safe for many shower surfaces.
If stains are still there
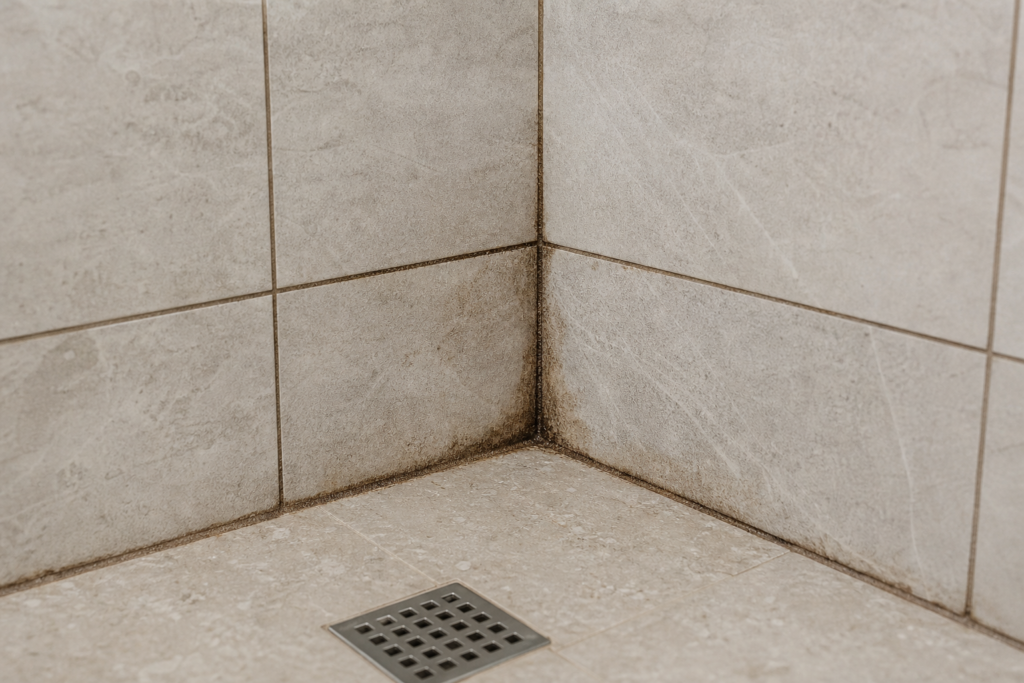
If the corner still looks dark after the first clean, you may be dealing with ingrained staining, mildew marks or residue caught in textured grout. Try one of these next steps, but use only one at a time.
- Bicarbonate of soda / baking soda paste: Mix with a little water to make a thick paste. Apply it to the grout line, leave for 10 minutes, scrub gently, then rinse and dry.
- Hydrogen peroxide cleaner: Use it only if the product label says it is suitable for grout and surrounding surfaces. Follow the contact time on the label, then rinse well.
- Bleach-based mould cleaner: Keep this for stubborn mould staining on suitable surfaces. Follow the product instructions exactly, keep the room ventilated, and never combine it with other cleaners.
If you use bleach, some guidance suggests a diluted mix for mildew, but ready-made bathroom products are often easier because the label gives clear directions. Either way, use a soft brush, not a metal scourer or anything very abrasive.
Best tools for fiddly shower corners
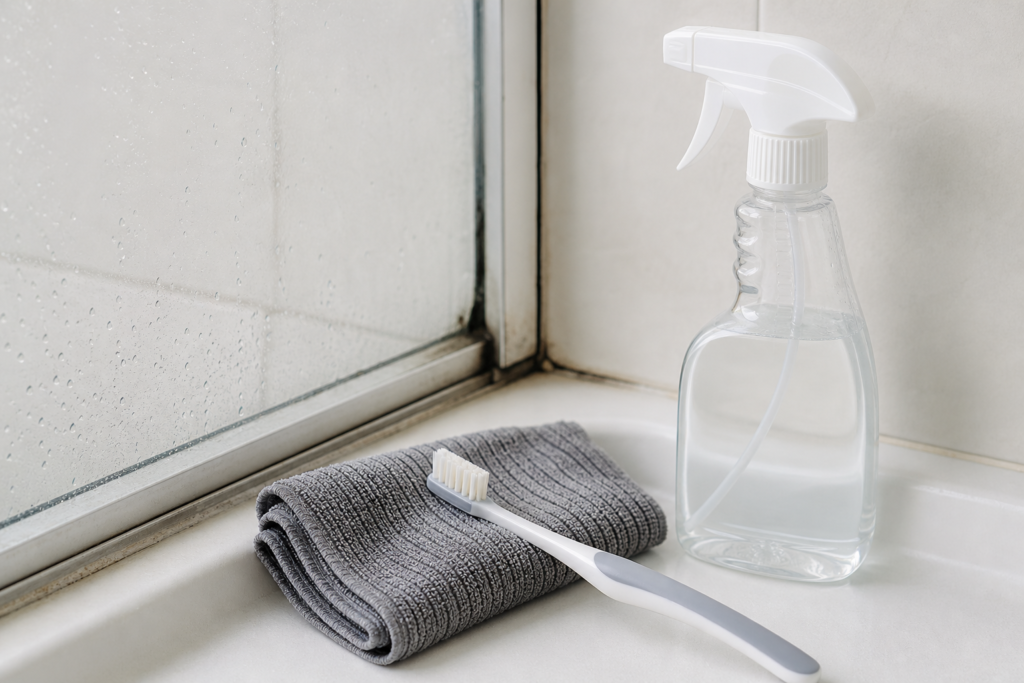
Shower corners are awkward for one reason: big brushes miss the narrow joint, and bulky sponges tend to just smear cleaner around. A few small tools make the job much easier.
- Old toothbrush: Good for most corners and easy to angle.
- Small grout brush: Better if your grout lines are deep or textured.
- Detail brush: Useful around trim, shower frames and tight lower corners.
- Cotton buds: Handy for applying cleaner exactly where you want it.
- Microfibre cloth wrapped around a finger: Good for the final wipe and dry.
If your bathroom stays humid, keep one of these tools in a cleaning caddy so you can do a quick weekly touch-up instead of waiting until the corner looks black again.
What not to do
- Do not assume every dark shower-corner line is grout.
- Do not use very hard scrubbing brushes that can scratch tile or damage sealant.
- Do not leave strong cleaners sitting longer than the label says.
- Do not mix bleach with vinegar, ammonia or any other cleaner.
- Do not ignore repeated cracking, crumbling or missing material in the corner.
If the material is sandy, breaking away, or keeps going dark again within days, cleaning may not be the real fix.
When cleaning is not enough
Sometimes a shower corner doesn’t need more scrubbing. It needs repair.
Take a closer look if you notice any of these signs:
- The line is cracked from top to bottom
- Bits are missing or crumbling out
- The corner stays dark even after repeated cleaning
- The sealant is peeling or has gaps
- Water seems to sit in the corner after every shower
In these cases, the problem may be failed sealant, damaged grout or ongoing moisture. If you’re unsure, a tile installer or bathroom repair professional can tell you whether the joint should be re-caulked rather than re-grouted.
How to stop shower corner grout getting mouldy again
Prevention mostly comes down to drying. The cleaner matters less if the corner never fully dries out.
- Run the fan for at least 15 to 20 minutes after showering.
- Leave the shower door or curtain open so air can move through the cubicle.
- Wipe or squeegee the corners after use. Even a quick 20-second wipe helps.
- Wash away soap build-up weekly. Soap scum traps grime and holds moisture.
- Do a quick monthly corner scrub. This is often enough to stop mildew settling in.
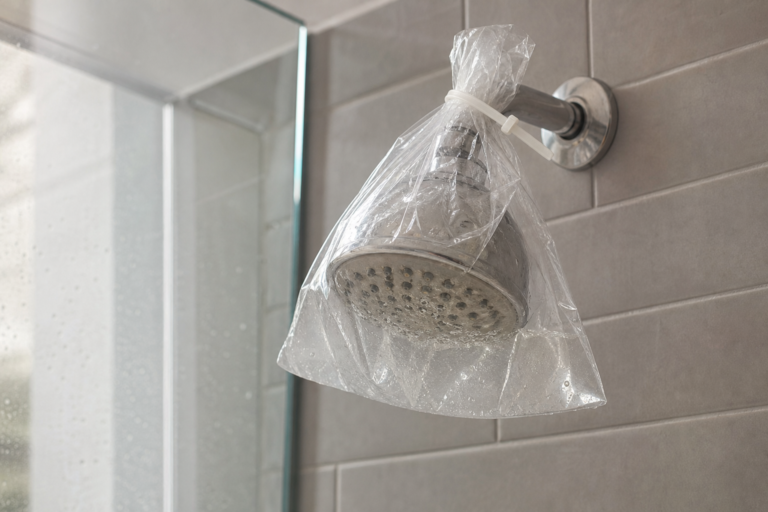
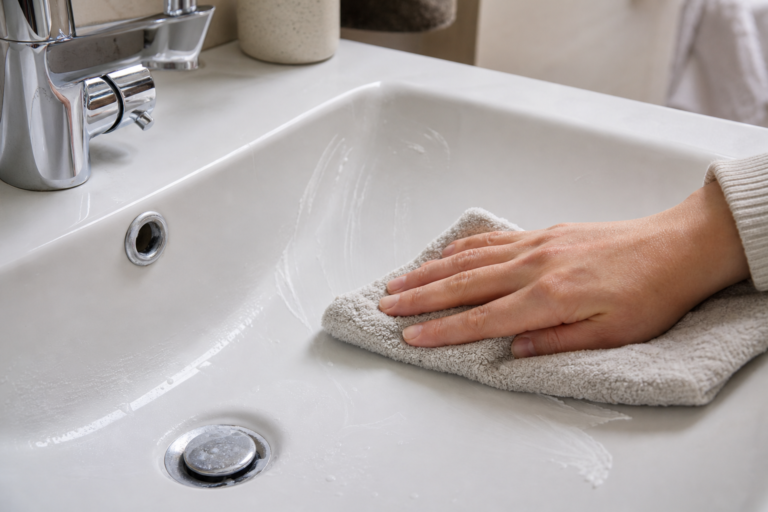
If you’re already tackling other bathroom problem spots, you may also find how to remove limescale from a shower head without vinegar smell useful, along with how to remove toothpaste stains from a bathroom sink. For more bathroom-specific cleaning guides, browse the Bathroom category.
A simple routine for damp bathrooms
If your bathroom has poor airflow, keeping shower corners clean is much easier when you make it part of a small routine instead of leaving it for a big deep clean.
- Daily: wipe the shower corners after the last shower
- Weekly: spray with mild soapy water and scrub the corners for 2 minutes
- Monthly: inspect corners for cracks, peeling sealant or stubborn staining
A reset habit like this works well with a general daily reset routine for a messy house, especially if you want cleaning jobs to stay short. If you deal with black marks in other damp areas too, this guide on cleaning a washing machine rubber seal with black marks can help. And if bathroom fabrics are starting to smell damp, have a look at how to get rid of musty smell in towels without bleach.
If you want the quickest method
Use warm water, a drop of washing-up liquid, a soft toothbrush and a dry cloth. Scrub for a few minutes, rinse, then dry the corner fully. For most routine shower-corner grime, that’s enough to freshen up the joint without jumping straight to harsher chemicals.
If the line is cracked or rubbery, stop and check whether it’s sealant rather than grout before you keep cleaning.
Frequently Asked Questions
What is the best cleaner for grout in shower corners?
For routine dirt and light mildew, warm water and washing-up liquid are a good first step. A soft brush usually removes more than you expect. If staining remains, you can try bicarbonate of soda paste or a bathroom cleaner labelled safe for grout and tile. Always test on a hidden area first.
Can I use bleach on shower corner grout?
You can use a bleach-based product if the label says it is suitable for the surface, but it is not always necessary for routine cleaning. Ventilate the room well, wear gloves, and rinse thoroughly afterwards. Never mix bleach with vinegar, ammonia or any other cleaner.
Why does mould keep coming back in shower corners?
Usually because the corner stays damp. Shower corners dry more slowly than flat tile, especially in small bathrooms with poor airflow. Run the extractor fan after showers, leave the shower area open to air out, and dry the corners with a cloth to slow mould returning.
How do I know if the shower corner is grout or caulk?
Grout is usually hard and grainy. Caulk or silicone sealant feels smoother and slightly flexible. That matters because many inside shower corners are supposed to be sealed, not grouted. If the line is peeling, cracked or rubbery, it may need replacement rather than more scrubbing.
What brush should I use to clean grout in tight shower corners?
A soft toothbrush, small grout brush or detail-cleaning brush works best. These can reach into the narrow angle without being too harsh. Avoid metal brushes or very stiff scrubbers, because they can damage grout, scratch tile, or tear sealant in the corner.
Free printable
Get the 15-minute weekly cleaning checklist
One short block a day keeps the whole home under control. Open the printable checklist, then join the list for one new practical guide a week. No spam, unsubscribe any time.