
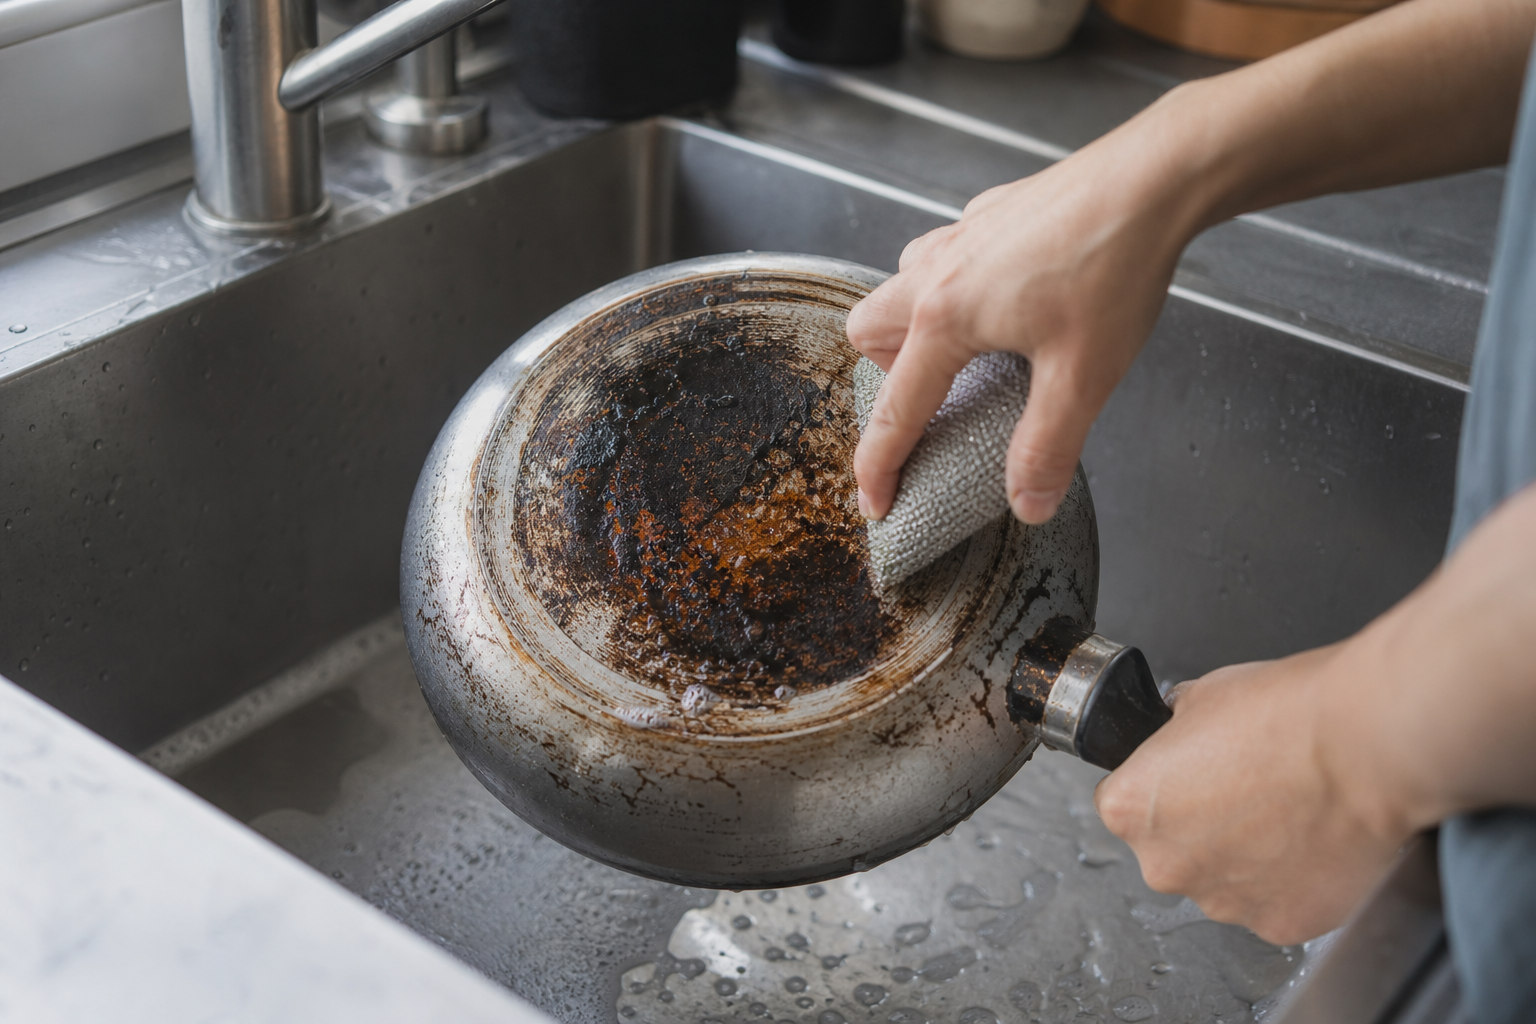
How to Clean Burnt Pan Bottom Without Scratching
You can clean a burnt pan bottom without scratching it, but the right method depends on what the pan is made from. For most pans, the safest route is to let it cool completely, soften the burnt residue with hot water and washing-up liquid, then use baking soda or a non-abrasive cleaner with a soft sponge.
If you’re looking for how to clean burnt pan bottom without scratching, skip steel wool, harsh scouring powders and oven cleaner. They can leave scratches, wear away finishes and, on some pans, cause permanent damage.
What you need
- Washing-up liquid / dish soap
- Hot water
- Bicarbonate of soda / baking soda
- Soft sponge or microfibre cloth
- Nylon or plastic scouring pad, if your pan care instructions allow it
- Wooden spoon or rubber spatula
- Soft towel for drying
Time: 20 to 40 minutes, plus soaking time if needed
Difficulty: Easy
Before you start: a few do-not-use warnings
These make the difference between a clean pan and a scratched one.
- Do not clean a hot pan with cold water. Sudden temperature changes can warp it.
- Do not use steel wool. It scratches easily, and on stainless steel it can also leave rusty marks.
- Do not use oven cleaner, bleach or chlorine-based cleaners. These can damage cookware finishes.
- Do not assume one method suits every pan. Non-stick, stainless steel and enamel all need slightly different care.
- Never mix bleach with vinegar, ammonia or other cleaners.
Always check the manufacturer’s instructions first, especially for coated, enamelled or premium cookware. If you’re using anything stronger than washing-up liquid, test it on a small hidden area first.
If the burnt pan caused flames on the hob / stovetop, deal with fire safety first. Put a lid over the pan and turn off the heat. Never throw water on a grease fire.
For more kitchen cleaning guides, browse the Kitchen category.
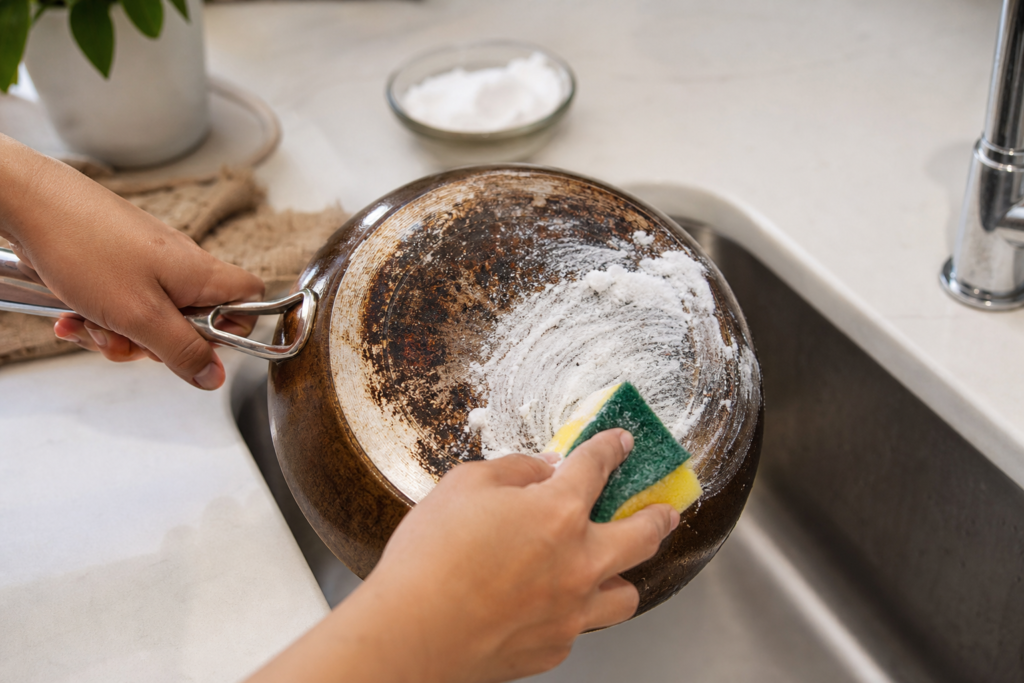
Method 1: Stainless steel pan bottoms
Stainless steel is usually the most forgiving option, but the wrong pad can still leave visible scratches.
Best for
Brown or black burnt marks on the outside bottom of a stainless steel pan.
Steps
- Let the pan cool completely. Don’t rush this part.
- Soak the burnt area. Fill the sink or a washing-up bowl with hot water and a squirt of washing-up liquid. Let the outside bottom soak for 15 to 30 minutes if you can.
- Make a paste. Mix 3 tablespoons of bicarbonate of soda / baking soda with a little water until you have a spreadable paste.
- Apply and wait. Spread the paste over the burnt bottom and leave it for 10 to 15 minutes.
- Wipe and rub gently. Use a soft sponge or nylon pad in small circles. Keep the pressure light.
- For stubborn patches, use heat. If the marks are on the inside too, add 1 quart / roughly 1 litre of water and 3 tablespoons of baking soda to the pan, bring it to a boil, then let it cool before loosening residue with a wooden spoon. This is mainly for burnt-on food inside the pan, but it can help if the problem isn’t limited to the outer base.
- Rinse and dry well. Drying helps prevent water marks.
If the pan looks dull rather than burnt, a non-abrasive cleaner made for stainless steel may help. Use a soft cloth, not a scourer.
Do not use on stainless steel
- Steel wool
- Harsh scouring powder
- Bleach or chlorine cleaners
- Oven cleaner
If you like simple upkeep jobs like this, the Cleaning Routines category has easy maintenance ideas that stop grime building up in the first place.
Method 2: Non-stick pan bottoms
Non-stick pans need a bit more care. Even when the burnt marks are only on the outside bottom, it’s easy to damage the coated cooking surface while handling or scrubbing the pan.
Best for
Light to moderate burnt residue on the outside of a non-stick pan.
Steps
- Cool the pan fully.
- Soak the base. Rest the pan in shallow hot, soapy water for 15 to 30 minutes, keeping the handle and any parts that should stay dry out of the water if needed.
- Use a gentle baking soda paste. Spread a thin layer over the burnt bottom only.
- Leave it for 10 minutes. Don’t let it dry rock-hard.
- Wipe with a soft sponge. Start with the soft side. If needed, use a non-scratch pad approved for non-stick cookware.
- Rinse and dry.
If burnt grease is stuck in patches, repeat the process instead of scrubbing harder. Aggressive cleaning can wear down non-stick coatings quickly.
Do not use on non-stick
- Metal scourers or metallic scouring pads
- Knife scraping
- Strong abrasive pastes
- Heating the pan empty on high heat to “burn off” residue
It also helps to avoid overheating non-stick pans in future. Many manufacturers advise against heating them empty or using very high heat, because that can damage the coating and make burnt marks more likely.
Method 3: Enamel pan bottoms
Enamel can chip or lose its shine if you go at it with rough tools. Gentle softening usually works better.
Best for
Burnt stains on enamelled pan exteriors, including casserole dishes and enamel-coated cookware.
Steps
- Let the pan cool.
- Soak with hot soapy water. Give it at least 20 minutes.
- Sprinkle on bicarbonate of soda / baking soda. Add just enough water to make a loose paste.
- Leave for 10 to 15 minutes.
- Rub gently with a soft cloth or sponge.
- Use a wooden spoon or rubber spatula for any softened bits. This helps if residue has built up around the edge of the base.
- Rinse and dry.
If the mark is more of a stain than a crust, you may need two rounds. That’s normal.
Do not use on enamel
- Steel wool
- Abrasive cream cleaner unless the manufacturer says it’s safe
- Hard scraping tools
What about aluminium, cast iron or copper?
If your pan isn’t stainless, non-stick or enamel, take extra care.
- Aluminium: Use a non-abrasive cleaner on the exterior. Some care guides suggest boiling water with cream of tartar, lemon juice or vinegar for discolouration inside aluminium pans, but for the outside bottom, keep it gentle and check the manufacturer’s guidance first.
- Cast iron: Avoid soaking for long periods, as it can encourage rust. Don’t use vinegar routinely on the exterior unless the maker says it’s safe.
- Copper: Copper scratches easily and often has a lined interior, so follow the care instructions closely.
- Ceramic-coated pans: Treat them much like non-stick. Gentle only.
If you’re not sure what the pan is made from, stop before trying a stronger method. It’s better to identify the material than risk permanent damage.
When burnt residue won’t budge
If the first round doesn’t work, the answer usually isn’t more force. It’s more time for the residue to soften.
- Repeat the hot soapy soak.
- Reapply baking soda paste.
- Leave it a bit longer, up to 30 minutes.
- Use a wooden spoon or rubber spatula to lift softened bits.
- Rinse and check before doing another round.
For badly burnt-on residue inside a stainless steel pan, the American Cleaning Institute’s pots and pans guidance gives a precise simmering method with baking soda and dishwashing liquid. That’s useful if the burn is not just on the outside bottom.
Common mistakes that cause scratches
- Starting with the rough side of the sponge
- Using dry baking soda like a scouring powder
- Scraping with a knife, fork or metal spoon
- Using “just a little” steel wool on one spot
- Ignoring the pan material
- Trying to clean it while it’s still hot and awkward to handle
Going slowly works better here. A second soak is cheaper than replacing a scratched pan.
How to stop pan bottoms burning so badly
You won’t prevent every mark, especially on gas hobs / stovetops, but a few habits make a real difference.
- Wipe spills off the pan base before cooking again
- Keep the hob / stovetop ring clean so old grease doesn’t burn onto the pan
- Use medium heat when you can
- Don’t overheat empty pans, especially non-stick
- Wash the outside bottom regularly instead of waiting for heavy build-up
Keeping the cooking area cleaner makes this much less frequent. You may also find the kitchen cleaning guides and organising tips helpful if your cupboards are full of pans that need a reset.
If your pan is scratched already
If the scratches are only cosmetic and on the outside bottom, the pan may still be fine to use. If the cooking surface of a non-stick or ceramic-coated pan is scratched, check the manufacturer’s advice. Deep damage, peeling or chipped coating usually means it’s time to replace it rather than keep scrubbing.
Your next step is simple: choose the method that matches your pan material, soak first, and keep the tools soft. That usually lifts the burnt layer without creating a new problem.
Frequently Asked Questions
Can I use baking soda on a burnt pan bottom?
Yes, in most cases baking soda is a safe first option because it’s mildly abrasive when made into a paste. It works best on stainless steel, enamel and many pan exteriors. Keep it damp, use a soft sponge, and check the manufacturer’s care instructions first, especially for coated pans.
What should I not use to clean a burnt pan without scratching it?
Avoid steel wool, metal scourers, oven cleaner, bleach, chlorine-based cleaners and aggressive scouring powders. These can scratch the surface, dull the finish or damage coatings. Don’t scrape with a knife or metal spoon either. If you want a scratch-free result, soaking and gentle rubbing work better.
How long should I soak a burnt pan before scrubbing?
A 15 to 30 minute soak in hot water with washing-up liquid is a good starting point for most pans. If the residue is thick or very blackened, you may need a second soak or a longer wait. Letting the burnt layer soften first reduces the need for hard scrubbing.
Can vinegar clean a burnt pan bottom?
Sometimes, but it depends on the pan material. Vinegar can help with some stains and discolouration, especially on certain metals, but it’s not the safest all-purpose choice for every exterior finish. Use it only if your pan care instructions allow it, and never mix vinegar with bleach or other cleaners.
Why did my pan bottom turn black?
Usually it’s burnt-on grease, cooking spills or heat exposure on the outside of the pan. Food splatters and oil can bake onto the base over time, especially if the hob or stovetop is dirty. Regularly wiping the pan bottom and cleaning burner areas helps stop the black build-up getting worse.